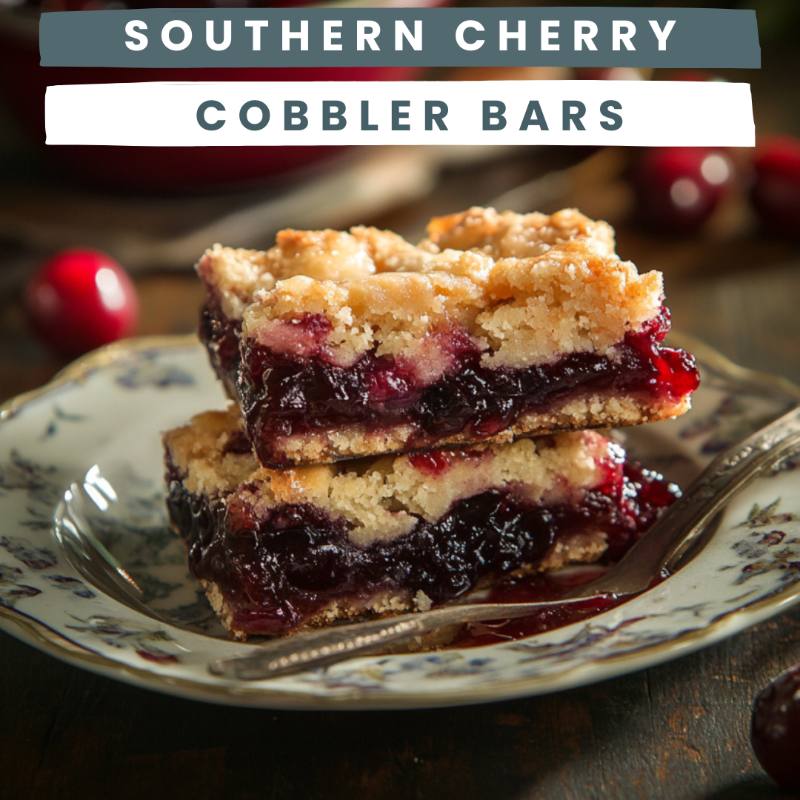
Southern Cherry Cobbler Bars
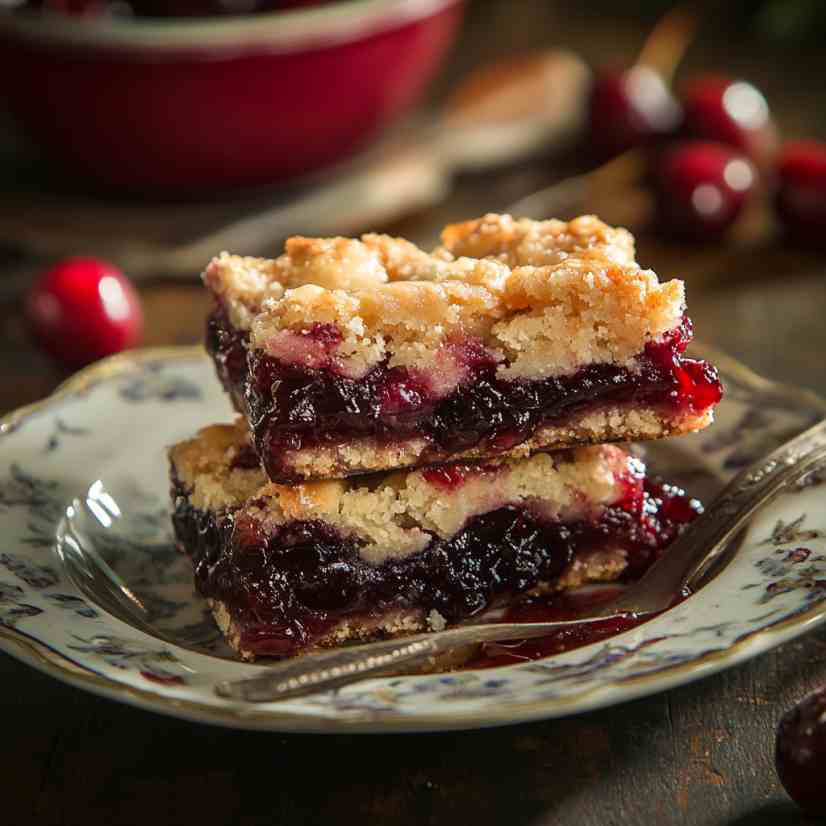
There’s nothing like the taste of a classic cherry cobbler, and these Southern Cherry Cobbler Bars bring that comforting, old-fashioned flavor in a portable, easy-to-share form. Perfect for gatherings, potlucks, or just a cozy night in, these bars combine a rich, buttery crust with the sweet-tart bite of cherry filling.
Inspired by traditional Southern cobbler recipes, these bars are as satisfying as they are simple to make. So, whether you’re a cobbler enthusiast or looking to try something new, these Southern Cherry Cobbler Bars are sure to become a favorite!
Why You’ll Love This Recipe
Not only do these bars capture the essence of cherry cobbler, but they’re also incredibly versatile and easy to transport. You get all the flavor of a classic cobbler in a treat that’s easy to slice, serve, and enjoy on the go. With just a few basic ingredients and minimal prep time, you’ll have a batch of cobbler bars that taste like they’ve been passed down through generations.
Tips for Perfect Cherry Cobbler Bars
- Use Fresh or Frozen Cherries: If cherries are in season, fresh is always best. But frozen cherries work just as well and allow you to enjoy this recipe year-round.
- Adjust Sweetness: If using tart cherries, you may want to add a bit more sugar to balance the flavor. For sweet cherries, stick to the recipe as-is.
- Let Them Cool Completely: After baking, let the bars cool completely to ensure they set well and are easier to slice cleanly.
- Add a Hint of Almond Extract: Almond pairs beautifully with cherries! A small dash will enhance the flavor without overpowering it.
Southern Cherry Cobbler Bars Recipe
Ingredients
- For the Crust and Topping:
- 2 cups all-purpose flour
- 1 ½ cups granulated sugar
- 1 tsp baking powder
- ¼ tsp salt
- 1 cup (2 sticks) cold unsalted butter, cubed
- 1 large egg
- 1 tsp vanilla extract
- For the Cherry Filling:
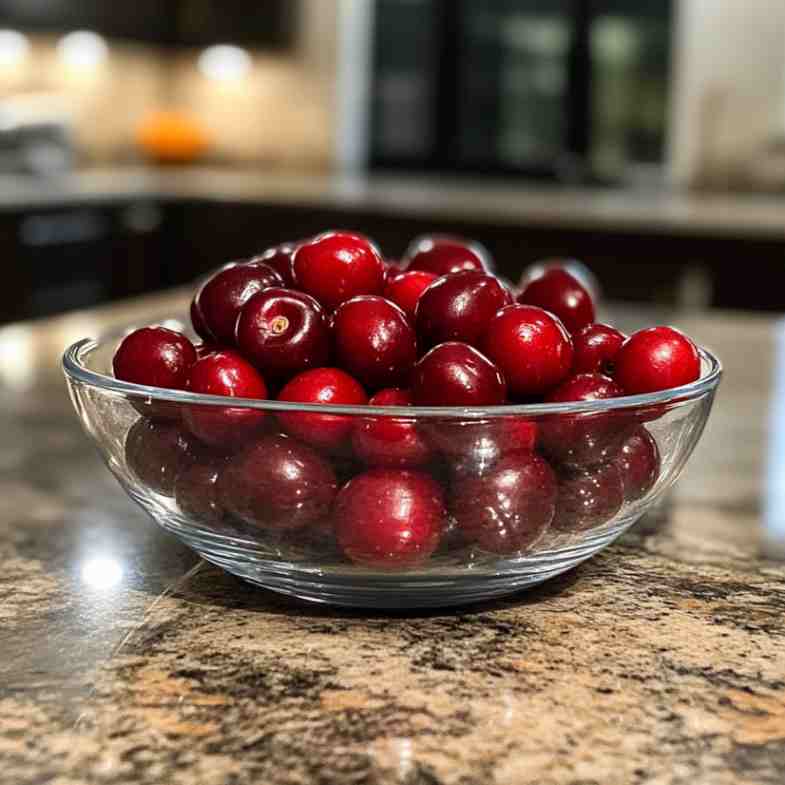
- 4 cups fresh or frozen cherries (pitted)
- ½ cup granulated sugar
- 1 tbsp cornstarch
- 1 tbsp lemon juice
- ½ tsp almond extract (optional)
Instructions
- Preheat Oven to 350°F (175°C). Grease a 9×13-inch baking dish and line it with parchment paper, leaving overhang for easy lifting.
- Prepare the Crust: In a large mixing bowl, combine flour, sugar, baking powder, and salt. Add cubed butter and, using a pastry cutter or your fingers, work it into the dry ingredients until the mixture resembles coarse crumbs.
- Add Egg and Vanilla: In a small bowl, whisk together the egg and vanilla extract. Pour it into the crust mixture and mix until it just comes together. Set aside 1 cup of the crust mixture for the topping, and press the rest firmly into the bottom of the prepared baking dish.
- Make the Cherry Filling: In a medium bowl, combine cherries, sugar, cornstarch, lemon juice, and almond extract. Stir until the cherries are evenly coated and slightly juicy.
- Assemble and Bake: Spread the cherry filling over the crust in an even layer. Sprinkle the reserved crust mixture on top, covering the cherries but leaving some fruit visible for a rustic look.
- Bake for 45-50 Minutes until the top is golden and the cherry filling is bubbling. Let the bars cool completely in the pan before lifting them out with parchment paper and slicing into squares.
Recipe Card
Ingredients
For the Crust and Topping:
- 2 cups all-purpose flour
- 1 ½ cups granulated sugar
- 1 tsp baking powder
- ¼ tsp salt
- 1 cup 2 sticks cold unsalted butter, cubed
- 1 large egg
- 1 tsp vanilla extract
For the Cherry Filling:
- 4 cups fresh or frozen cherries pitted
- ½ cup granulated sugar
- 1 tbsp cornstarch
- 1 tbsp lemon juice
- ½ tsp almond extract optional
Instructions
- Preheat Oven to 350°F (175°C). Grease a 9×13-inch baking dish and line it with parchment paper, leaving overhang for easy lifting.
- Prepare the Crust: In a large mixing bowl, combine flour, sugar, baking powder, and salt. Add cubed butter and, using a pastry cutter or your fingers, work it into the dry ingredients until the mixture resembles coarse crumbs.
- Add Egg and Vanilla: In a small bowl, whisk together the egg and vanilla extract. Pour it into the crust mixture and mix until it just comes together. Set aside 1 cup of the crust mixture for the topping, and press the rest firmly into the bottom of the prepared baking dish.
- Make the Cherry Filling: In a medium bowl, combine cherries, sugar, cornstarch, lemon juice, and almond extract. Stir until the cherries are evenly coated and slightly juicy.
- Assemble and Bake: Spread the cherry filling over the crust in an even layer. Sprinkle the reserved crust mixture on top, covering the cherries but leaving some fruit visible for a rustic look.
- Bake for 45-50 Minutes until the top is golden and the cherry filling is bubbling. Let the bars cool completely in the pan before lifting them out with parchment paper and slicing into squares.
Common Questions & Answers
Can I use canned cherry pie filling instead of fresh or frozen cherries?
Yes! If you’re looking to save time, canned cherry pie filling works well and adds even more sweetness. Just skip the sugar and cornstarch in the filling step if using canned filling.
What’s the best way to store these cobbler bars?
Store any leftovers in an airtight container in the refrigerator. They’ll stay fresh for up to 5 days. You can also freeze them in a sealed container for up to 3 months—just thaw in the fridge before serving.
Can I substitute other fruits in this recipe?
Absolutely! You can use blueberries, peaches, or even a mix of berries for a unique twist. Keep the basic ratios the same for a similar cobbler bar texture and taste.
Do these bars work with gluten-free flour?
Yes, you can substitute a gluten-free flour blend. Be sure to choose a mix that’s meant for baking to get a similar consistency.
What’s the best way to serve cherry cobbler bars?
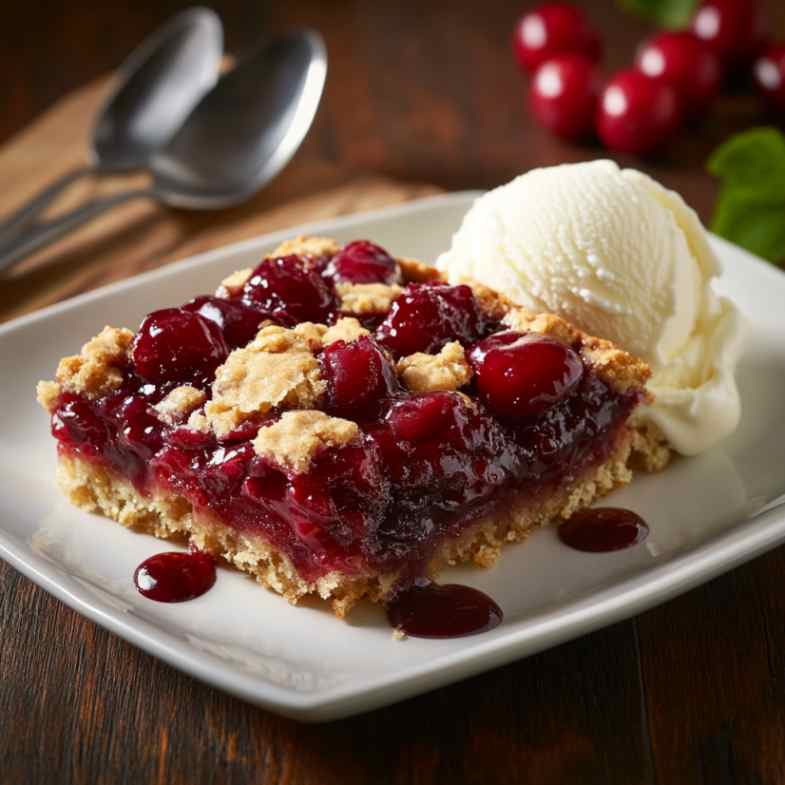
They’re delicious on their own, but you can also warm them up slightly and top with a scoop of vanilla ice cream or a dollop of whipped cream for an extra treat.
Final Thoughts
These Southern Cherry Cobbler Bars are the perfect blend of sweet and tart, with a buttery crumb that brings it all together. They’re easy to make, quick to bake, and impossible to resist! Enjoy these bars as a nostalgic dessert or a crowd-pleaser at your next gathering.
Happy baking!
Pin for Later
 Home and Gardening Ideas At home and Gardening ideas we believe inspiring readers about homesteading, self sufficiency
